

how to draw a christmas tree step by step
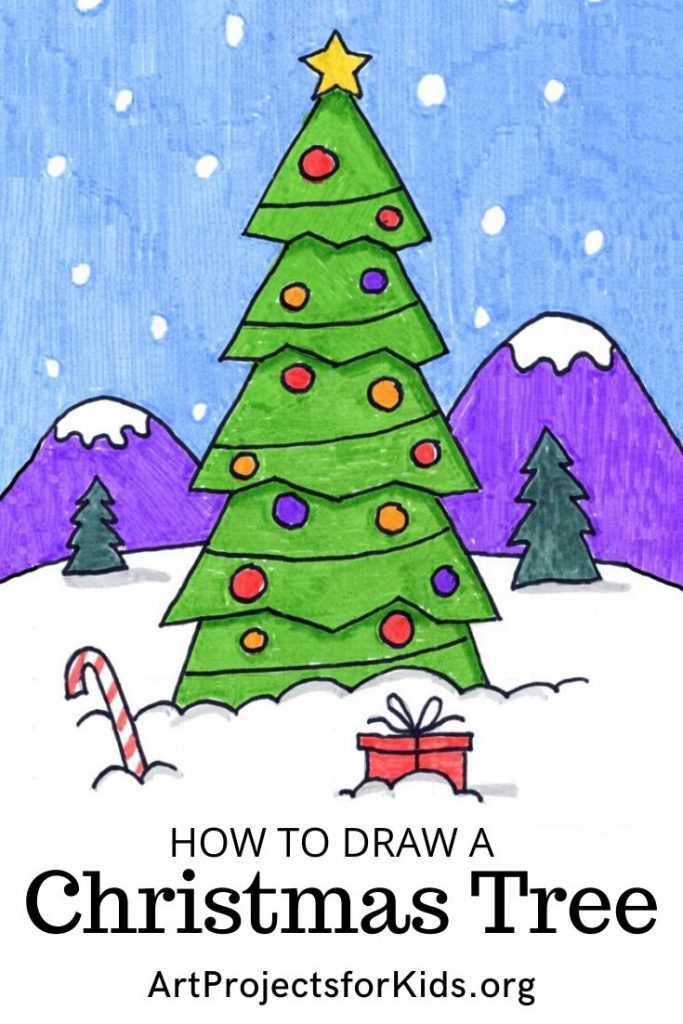
Easy How to Draw a Christmas Tree Tutorial and Christmas Tree Coloring Page
posted in: 1st Grade, 2nd Grade, 3rd Grade, 4th Grade, 5th Grade, Christmas Drawings Ideas, Drawing, Easy How to Draw Tutorials, Holiday Drawing Ideas, Markers, Stabilo, Winter |
Below you'll find an easy step-by-step tutorial for how to draw a Christmas Tree and Christmas Tree Coloring Pages. Why not mix things up and put it in a really fun place, like a snowy mountain?
Christmas Tree Drawing
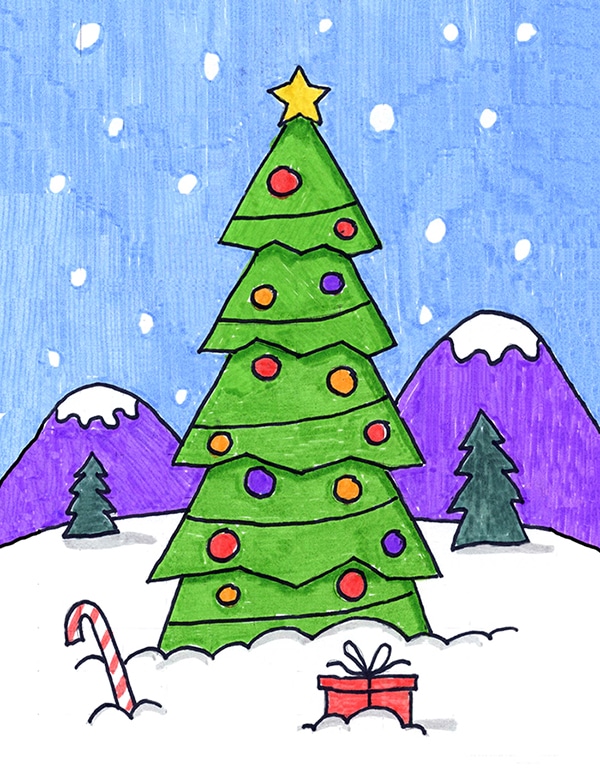
If Christmas is a magical time of the year, then why not think outside of the box, and learn how to draw a Christmas tree in a really unusual place? Trees in homes can be very pretty, of course, but a tree in the middle of nowhere starts to tell story. Who put it there? Is it for people who live there, or just come and visit? Who are the presents for?
This tutorial offers an easy way to draw the layers of a Christmas tree, without getting too bogged down with all the branches. The simple sections that get wider and wider are easy to draw, and let students add shadows too, if they'd like. It all adds up to a tree that doesn't look so flat, which is what happens when only the outline is drawn.
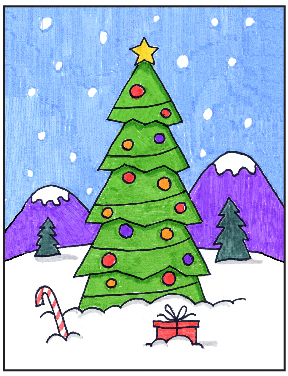
Lastly, when it comes to coloring your drawing, here's a tip that will keep your student's snow looking white and fresh. All they have to do is remember NOT draw the little circles first with a black marker. They need to stop when they're done tracing the tree and mountains, and draw the snow circles with the sky blue color instead. Afterwards, when they fill in the background they will have some very pretty and soft looking snow without any black outlines. It makes for a much lighter and more delicate looking sky.
Use Button below to Download a PDF Tutorial
Pin me to your Pinterest Board
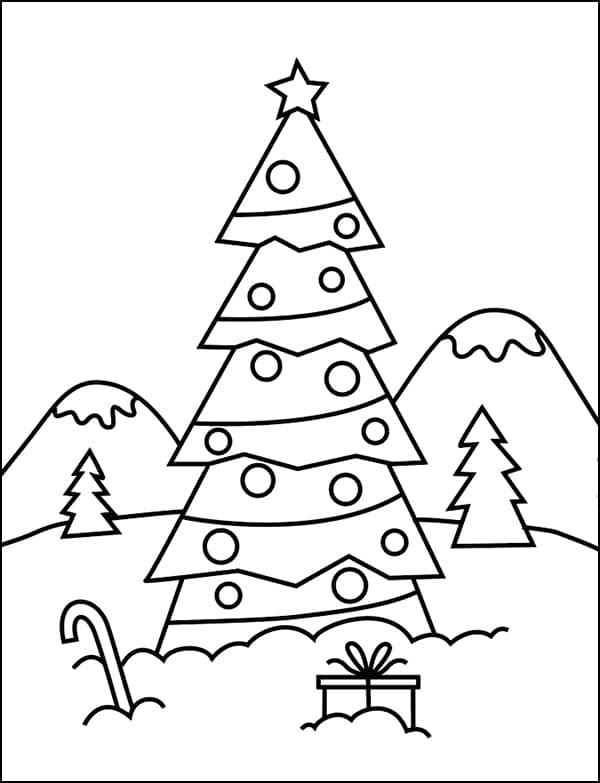
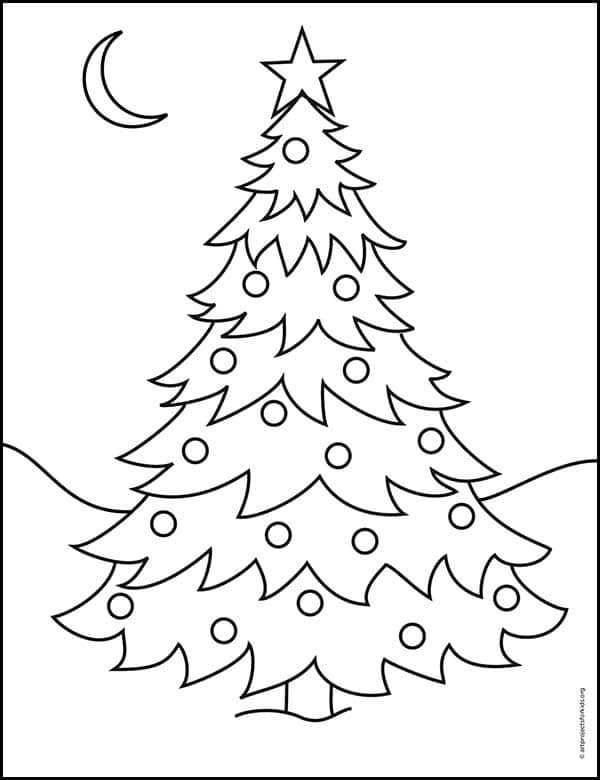
Christmas Tree Coloring Page
Materials for a Christmas Tree Drawing

Note: This post contains affiliate links. If you click and take action, I will be compensated a small amount at no expense to you.
- Drawing Paper. Don't substitute it with copy paper or construction paper. The surface will get fuzzy, erasing might cause holes, and the colors will generally not look as bright.
- Pencil. The Ticonderoga brand are the most reliable, make nice dark lines when you need them, and are the easiest to erase.
- Eraser. Large ones you can hold in your hand do a much better job than just the pencil tips.Stabilo Markers. They have the best colors, the best tips, and last the longest.

- Black Sharpie Marker. These fine point permanent markers make nice black lines, have a good tip for coloring, and never bleed when they get wet. Use them in areas with good ventilation and add extra paper underneath for table protection.
- Stabilo Markers. The large pack provides lots of fun color choices, several shades of each color, including a few choices for skin. The tips are perfect for coloring, and there's even a promise that they will work after being uncapped for 8 weeks!
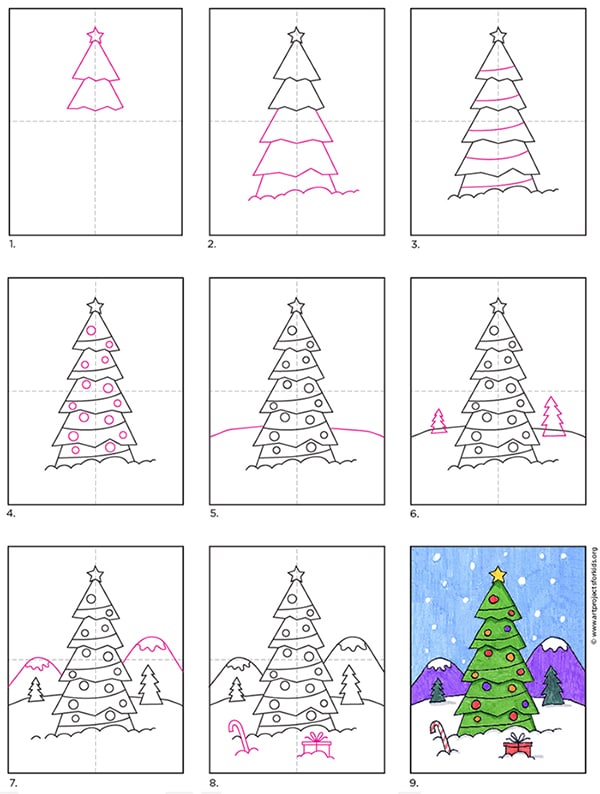
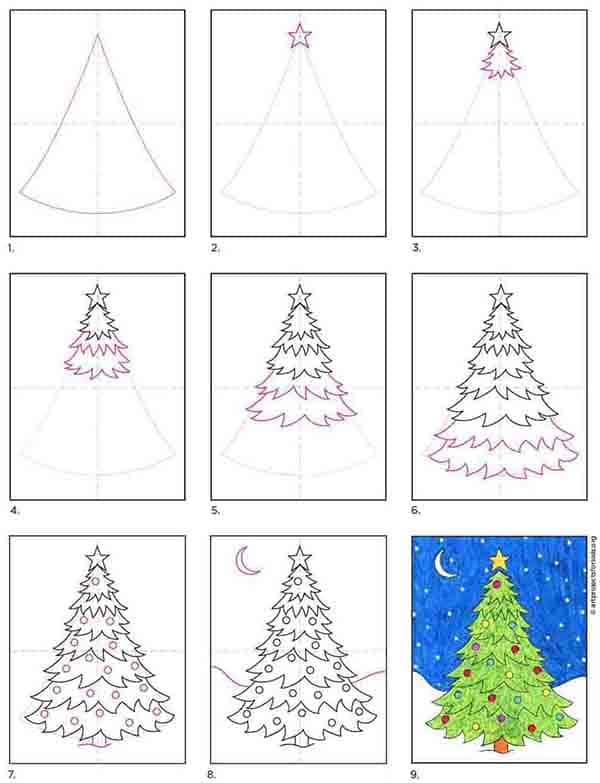
Step by Step Directions for to Draw a Christmas Tree
Time needed:9 days and 1 hour.
Draw a Christmas Tree in 9 Easy Steps
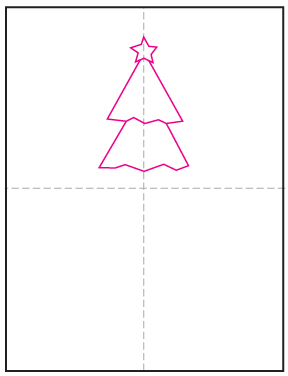
- Draw a center star and 2 tree sections.
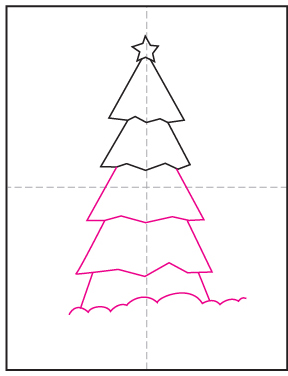
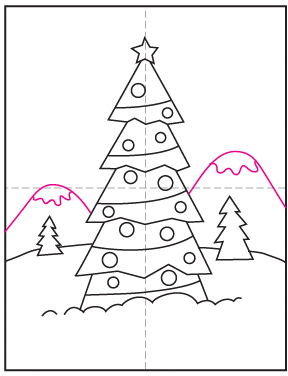
- Draw 3 more sections and add a line for the snow.
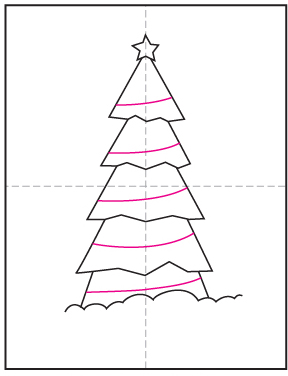
- Draw lines for the lights.
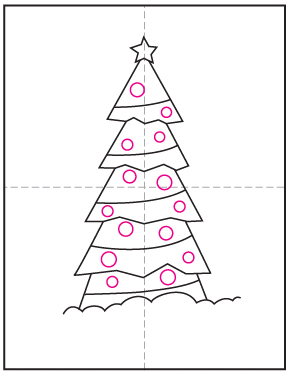
- Add circles for decorations on the tree.
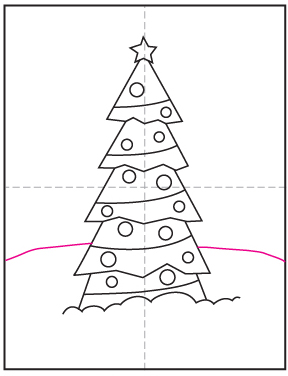
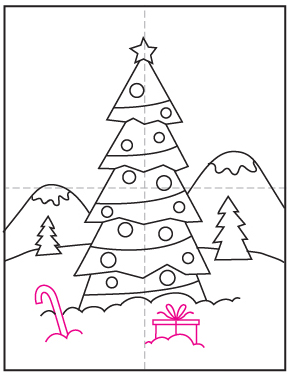
- Draw a horizon line.
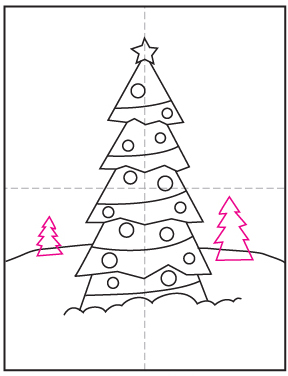
- Add two small trees in the background.
- Add mountains in the back.
- Draw presents and candy in the front.
- Trace, color and add shadows.
More Easy Christmas Drawing Projects
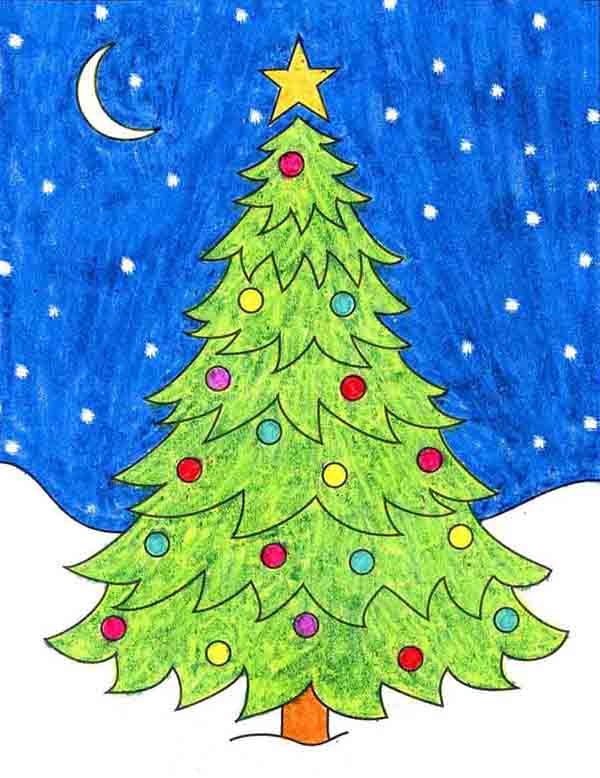
Another Christmas Tree Tutorial
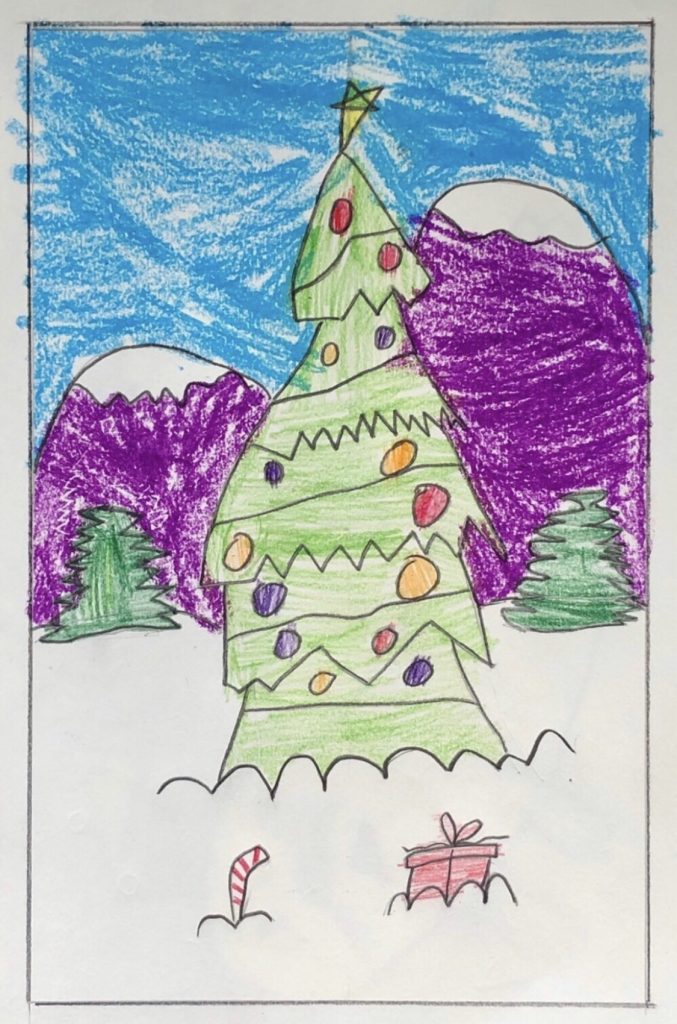
Student Drawings
how to draw a christmas tree step by step
Source: https://artprojectsforkids.org/how-to-draw-a-christmas-tree/
Posted by: osbornedrel1998.blogspot.com
0 Response to "how to draw a christmas tree step by step"
Post a Comment