

Remove Drive from Storage Pool for Storage Spaces in Windows 11/10
If you created a storage pool or upgraded an existing pool on your Windows 11/10 device, you'll be able to remove a drive from the pool – the data stored on that drive volition be moved to other disks in the puddle, which allows yous to use the deejay for something else. In this post, we will show you how remove Drive from Storage Puddle for Storage Spaces in Windows 11/x.
Remove Bulldoze from Storage Puddle for Storage Spaces

We can remove Drive from Storage Puddle for Storage Spaces in Windows 11/x in two quick and piece of cake ways. We'll explore this topic under the methods outlined below in this section:
1] Via Settings app

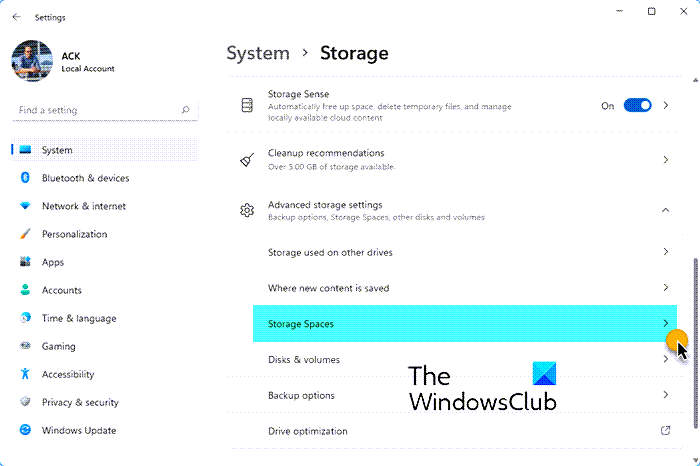
To remove Drive from Storage Pool for Storage Spaces via Settings app in Windows eleven/x, practise the following:
- Press the Windows key + I to open up Settings.
- Tap or click System.
- Click Storage on the left pane.
- Next, scroll downward and click/tap on the Manage Storage Spaces link on the right pane.
- Click on the chevron to expand a storage pool you desire to remove a bulldoze from.
- Next, click on the chevron to expand the Physical disks for the storage pool.
- Now, click on the bulldoze you want to remove.
- Click Properties.
- Click the Prepare for removal button.
- Click Remove. The disk will now be removed from the storage pool.
- Leave Settings app.
The removed disk volition show as an unallocated disk in Disk Direction tool.
two] Via Control Panel

To remove Bulldoze from Storage Pool for Storage Spaces via Control Panel in Windows 11/ten, do the following:
- Press Windows key + R to invoke the Run dialog.
- In the Run dialog box, type control and hit Enter to open up Control Panel.
- From the acme right corner of the window, set the View by selection toLarge icons or Small icons.
- Click the Modify settings button and click Yes if prompted byUAC.
- NetherConcrete drives for the storage pool you want, click thePrepare for removal link for the bulldoze you want to remove.
- Click the Set up for removal button.
Note: Ensure your PC is connected to a power source until the drive is ready to be removed. This process could accept several hours, depending on the volume of information you have stored on the bulldoze. Besides, yous may experience issues when the drive is preparing for removal, which is almost likely due to insufficient free space in the puddle to shop all the data from the drive yous desire to remove. In this example, you can add together a new drive to the pool that'south as large as the drive you intend to remove and then try again.
- The drive will now exist listed every bit Preparing for removal.
- One time the drive is listed as Ready to remove, click on its Remove link.
- So, click the Remove drive button. The drive will now be removed from the storage pool.
- Exit Control Console.
That'due south it on the two means to remove Bulldoze from Storage Pool for Storage Spaces in Windows xi/10!
Read next: How to Delete a Storage Space from Storage Pool?


Source: https://www.thewindowsclub.com/remove-drive-from-storage-pool-for-storage-spaces-in-windows-10
Posted by: osbornedrel1998.blogspot.com
0 Response to "Remove Drive from Storage Pool for Storage Spaces in Windows 11/10"
Post a Comment